Foreword
There is only one thing I hate more than advertisements and that’s advertisements using up my internet bandwidth. Oh you didn’t know? Every website that you go to on the internet makes many back-end calls out to other websites so that it can properly construct the page that you see when you visit Yahoo.
This is not always bad, CDNs may supply necessary JavaScript or CSS that is needed to render you very precious UI/UX; HOWEVER, a lot of that traffic is unwanted and definitely not needed or desired content… aka ads,tracking, etc.. A study showed that advertisement is 25% of your bandwidth, but I feel that is conservative with other people claiming upwards of 70%.
How do you stop this madness? Well, with a Raspberry Pi and Pi-hole® of course. All you have to do is buy one, flash a micro SD and you’re off to the races. Well… that’s what a normal human would do. I decided to custom build an extravagant 3D printed case with more unnecessary crap in it, like a fake Gandhi quote and some RGB lighting… AND FANS.
Basic Concept and Design
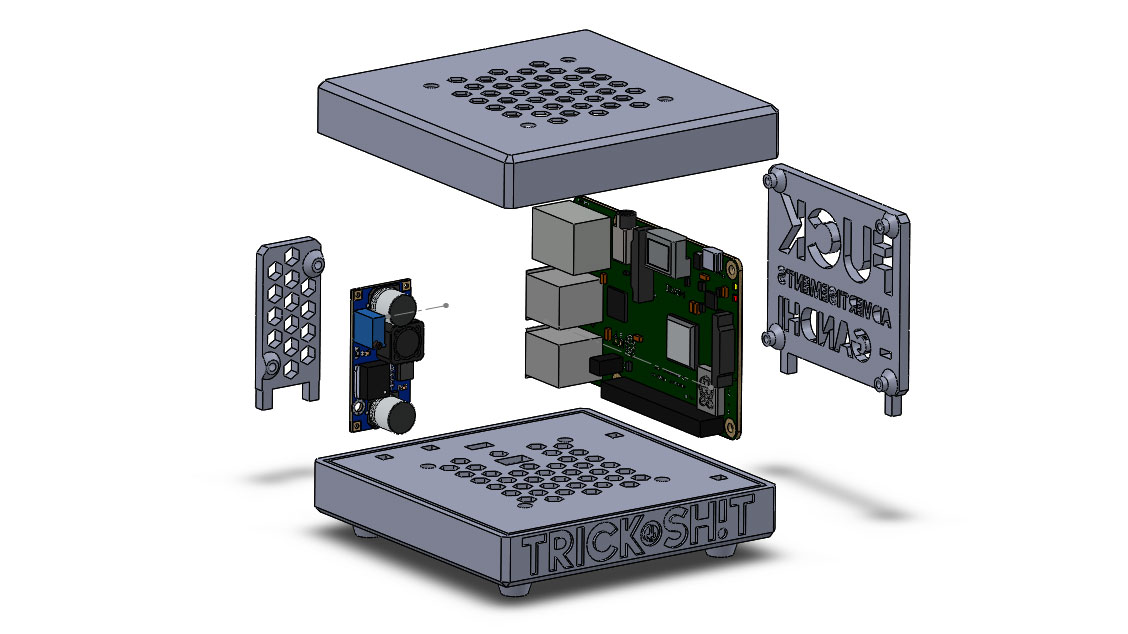
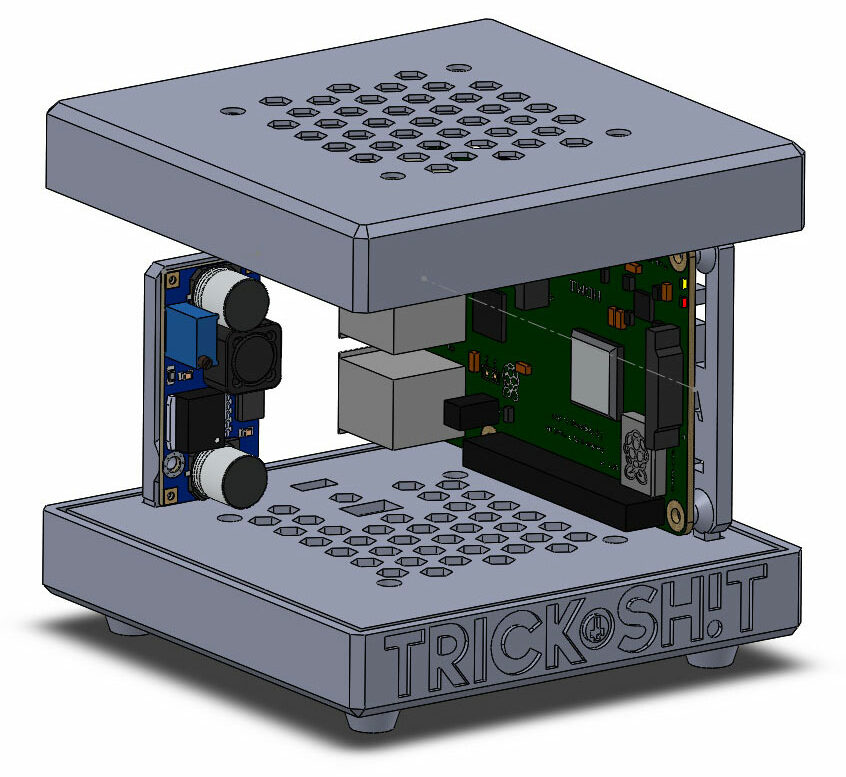
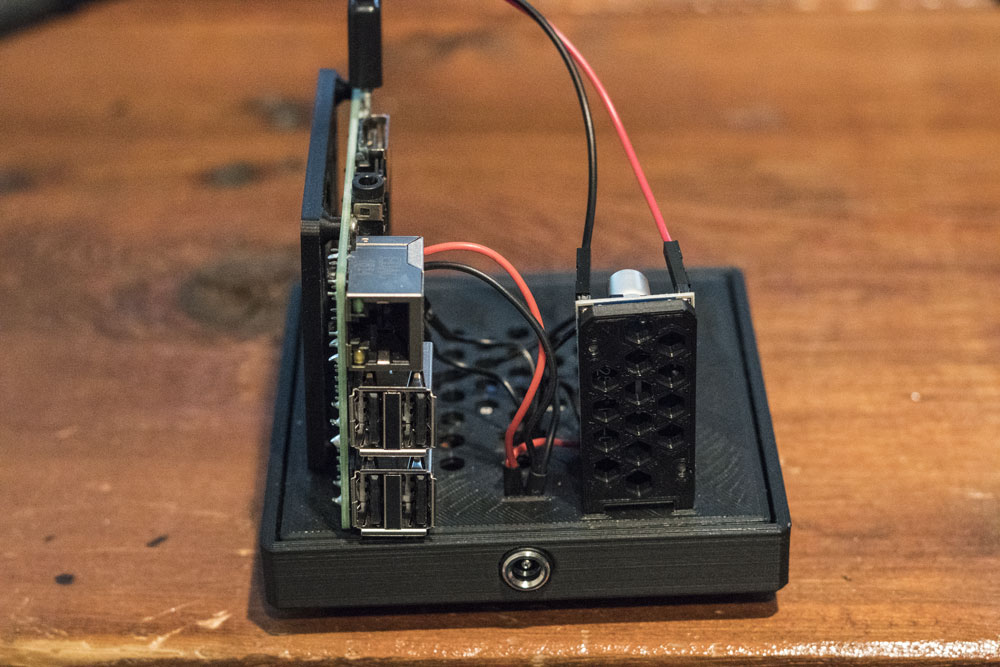
So the idea was to run the entire operation on a 12V power supply distributing power via a 2.1m x 5.5mm 2 pin DC power female jack into the back of the lower frame to supply all of the power. (Figure 1).
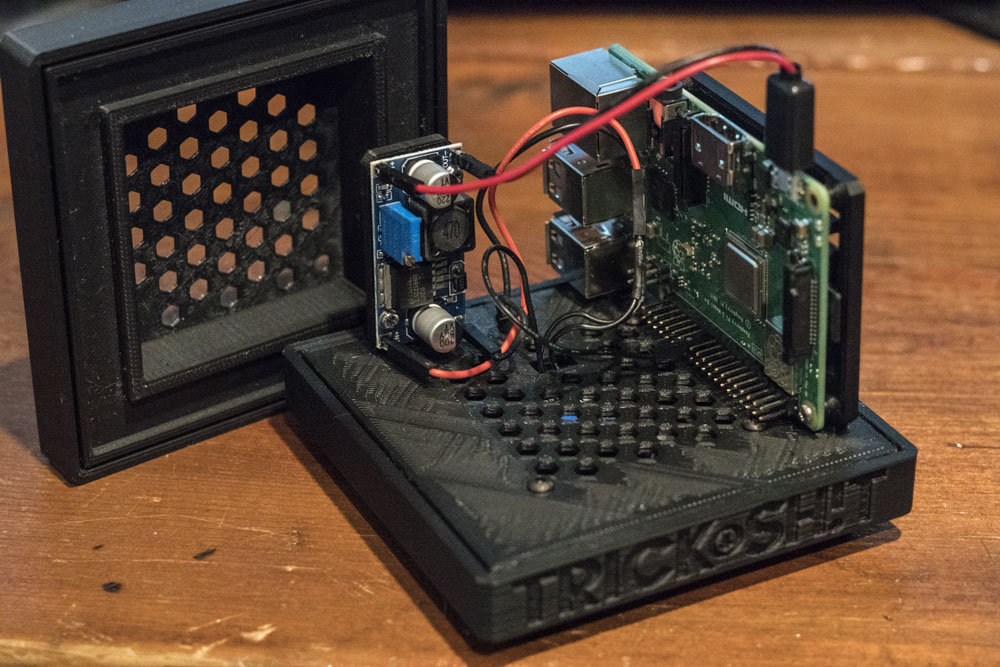
The fan (Figure 2) takes 12V power directly, and I was going to power some 12V LED strips, but later in life I figured I’d just mount an RGB led to the Pi’s headers and control it internally. Hindsight, I wouldn’t have spent time designing an LED track in the top frame (Figure 3). A 60mm x 60mm fan fits perfectly in the bottom and the wires are routed up through the lower frame via a rectangle hole with mounting holes as well.
The LM2596 would be used to convert the 12V to 5V and power the Pi.
I wanted to put everything “on display” so I decided on upright mounting plates that fit via square “nubs”. The very small tracks in the upper and lower frame are for thin plexi-glass walls. Four clear pieces, some etched with design, will enclose the project and give it an interesting look when the RGBs light up.
That being said, that is the basic design. If I forgot to cover something drop me a line in the comments.
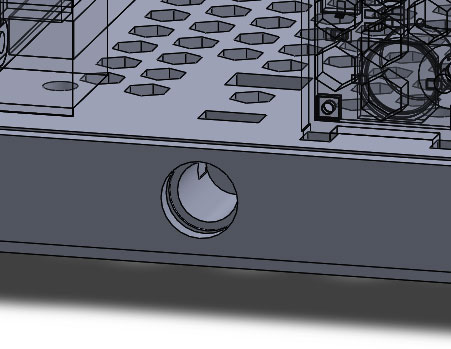
Figure 1. Power inlet. 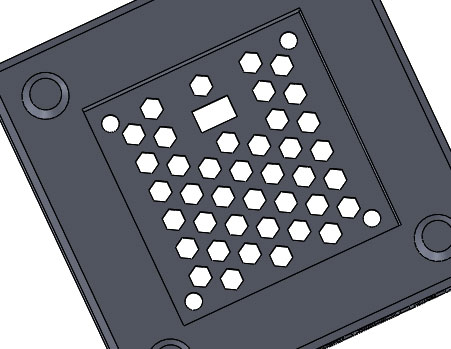
Figure 2. Recessed area in lower frame perfect for 60mm x 60mm fan. 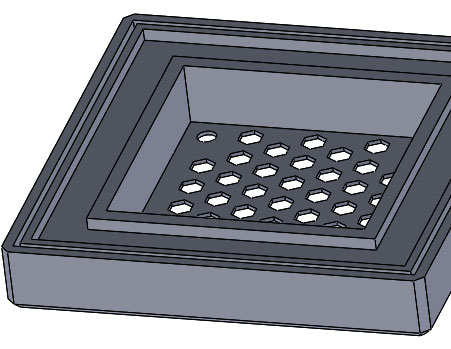
Figure 3. LED track that I will no longer be using.
Captains Log
October 12, 2019 – I haven’t touched this thing in about a year. The upper and lower frame, upright mounting plates were printed a long time ago and everything was mounted I just stopped working on it for some reason. Maybe mountain bike racing season started.

I finished up the wiring today and ordered what was going to be plexi glass, but is now PETG plastic form a company called Ponoko. They take vector designs and laser cut them. The only transparent/translucent plastic they offer at the 1.2mm thickness I made my tracks (not sure why I did that) is PETG. It could turn out a disaster, too flimsy, not transparent enough… etc, but at this point I just want this thing rolling. Either way, this is the design I sent over to them. The black lines are cuts, and the blue is etched area.
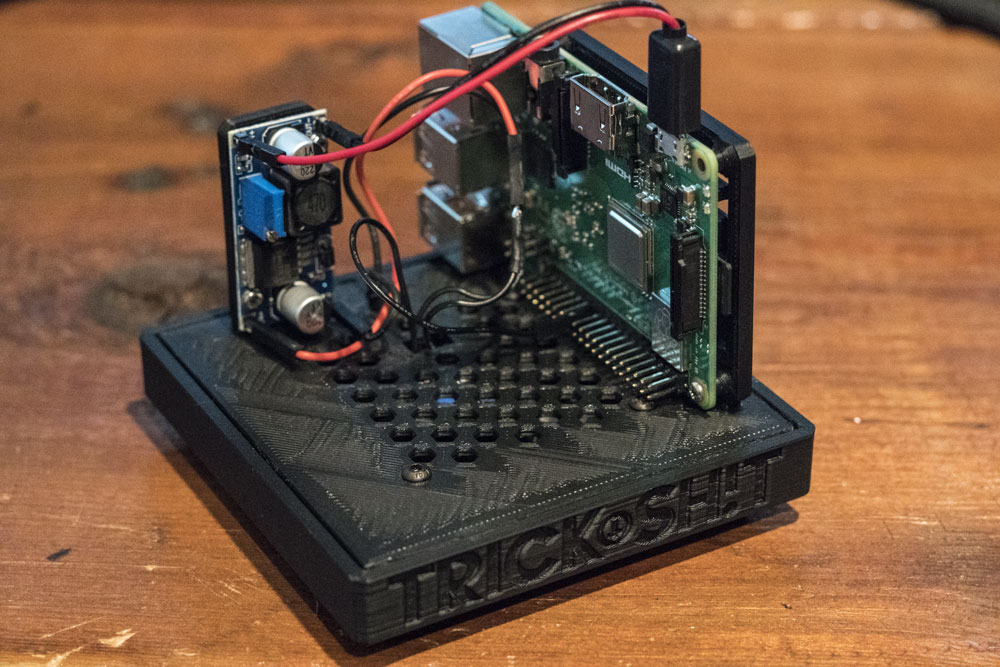
I dialed in the converter to send out a spot on 5V, upgraded the straight soldered connections to removable pins/connectors for ease replacement. Then I soldered up a USB Micro-B male connector with female pins on the other end to slot onto the DC converter. Connected the lower fan directly to the 12V power in, plugged it up and everything seems to work. However, my Pi stopped booting. The power adapter I was using was 12V 2A so I may have been under powering the entire operation. Pi isn’t booting. Going to give it a day to see if the internal fuse resets.
The PETG from Ponoko isn’t set to be delivered until October 28th. So don’t expect an update until then. I may pre-load Pi-Hole® while I wait and just have a janky looking box filtering out all my advertisement traffic.
Note: Think about changing the red positive wires to black for aesthetic purposes.
October 14, 2019 – I went ahead and installed a fresh Debian Buster image on a 16gig microSD card. After updating and hardening the OS, I installed Pi-Hole, which was seamless. After that it was off to the races.
I opted to put the Pi-Hole DNS server directly into my local router so all requests were captured without configuring each device. This is awesome; however, I have not been able to figure out what device is making the calls through the web interface because the requester is always the router. I need to sit down and configure DDNS from the router.


